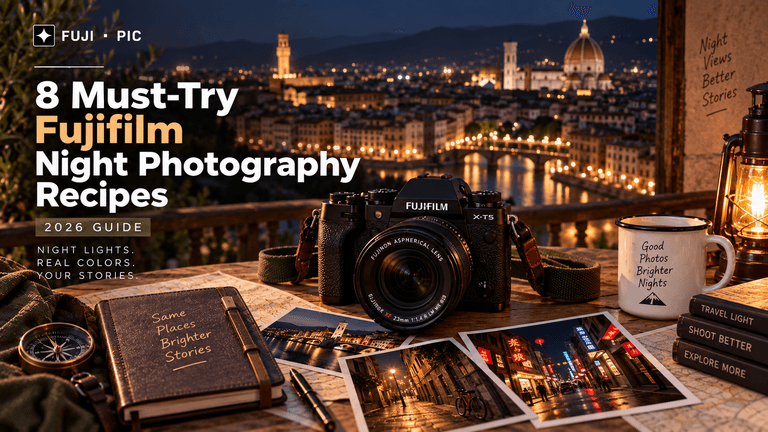
Fujifilm JPEG or RAW: Do Your Photos Actually Need Editing?
Fujifilm JPEG vs RAW explained: learn when JPEG is enough, when RAW is better, and how Fujifilm settings can reduce the need for editing.
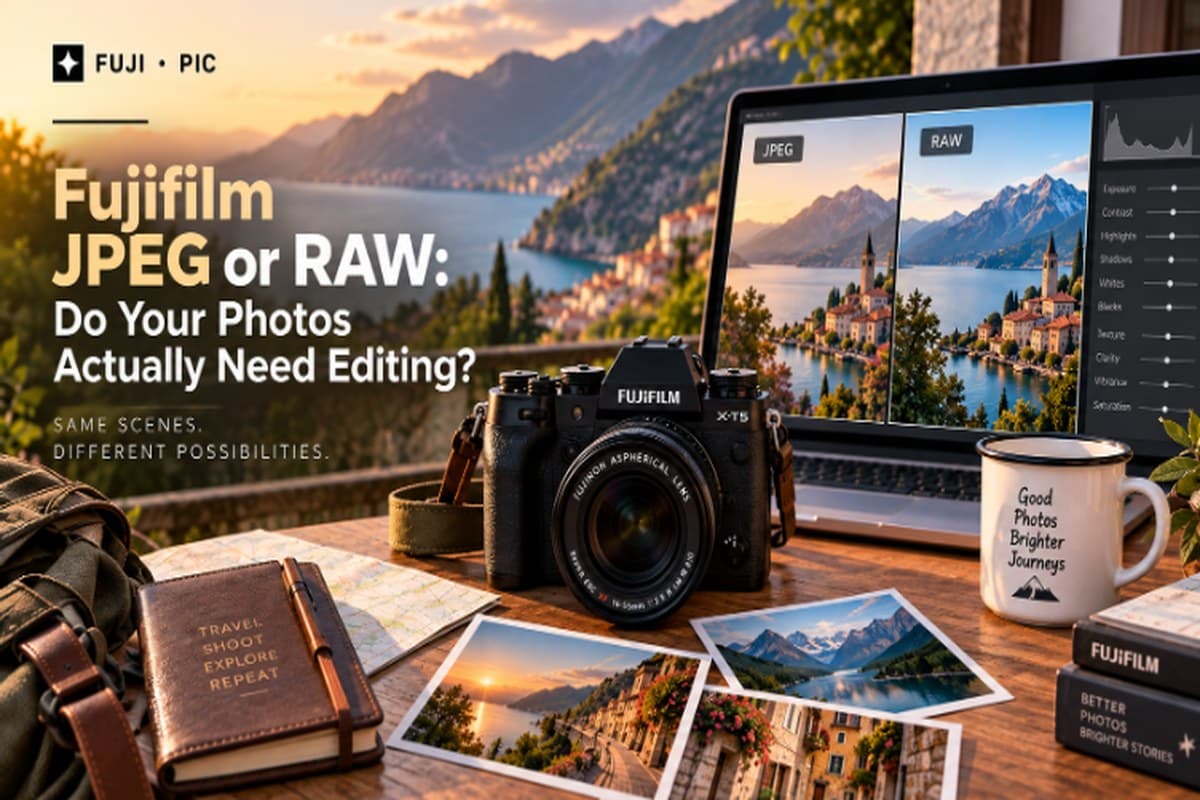
There’s a distinct magic in capturing a moment so cleanly in-camera that the color, contrast, and mood feel complete instantly. That is exactly why choosing between JPEG and RAW can feel surprisingly difficult for Fujifilm shooters today.
Every Fujifilm forum and YouTube video seems to argue differently, while you simply want a straight answer for your shooting style. Fujifilm JPEGs are unusually good, making it tempting to leave your images untouched and spend less time behind your screen.
But the Fujifilm JPEG vs RAW decision depends on what you photograph, how you shoot, and how much editing flexibility matters. This guide gives you a clear decision framework for choosing JPEG, RAW, or both without relying on another opinion essay.
Fujifilm JPEG vs RAW: Which Should You Shoot?
Most well-exposed Fujifilm JPEGs need no editing, while RAW remains safer for difficult light or professional deliverables. The difference becomes clearer when you consider how much recovery latitude and post-processing control your particular shoot demands.
For the Fujifilm JPEG vs RAW decision, here is the fast version before the full breakdown below:
- JPEG is enough for good light, casual photography, social posts, and situations where you want finished images immediately.
- RAW is worth choosing for mixed light, challenging exposures, and paid client work where greater editing flexibility matters.
- RAW+JPEG removes the choice entirely, giving you a finished JPEG alongside the RAW file whenever additional control becomes necessary.
What’s Actually Different Between a Fujifilm RAW File and a JPEG?
A Fujifilm RAW file stores unprocessed sensor data at higher bit depth, while JPEG is processed, compressed, and finished in-camera.
Here is how that difference plays out across the specifications that actually matter when choosing your shooting format.
| Factor | Fujifilm RAW (.RAF) | Fujifilm JPEG |
| Bit depth | Typically 14-bit, preserving substantially more tonal information for post-processing. | 8-bit, with fewer tonal values retained after in-camera processing. |
| File size | Larger files because substantially more original image information is retained. | Smaller files because the image has already been processed and compressed. |
| Editing flexibility | Greater flexibility for adjusting exposure, highlights, shadows, and white balance after capture. | Less flexibility because processing decisions have already been rendered into the image. |
| Whether Film Simulation is baked in | No. The selected Film Simulation does not permanently alter the underlying RAW sensor data. | Yes. The selected Film Simulation is rendered into the finished JPEG. |
| Ready to share | Usually requires processing or export before becoming a finished image. | Yes. The finished file can be shared immediately. |
The practical difference appears during corrections: 14-bit RAW offers more room for recovering highlights, lifting shadows, or changing white balance.
Fujifilm RAW therefore provides greater flexibility when exposure is difficult, while JPEG delivers a finished image immediately.
Why Are Fujifilm JPEGs Different From Every Other Brand’s JPEGs?
Fujifilm JPEGs matter more here because Film Simulations can make JPEGs remarkably close to finished, graded images.
- Fujifilm’s advantage
- Film Simulations give JPEGs a deliberate color, contrast, and tonal character before editing.
- That makes JPEG a genuine creative choice, not simply a smaller file for convenience.
- What shapes the look
- X-Trans: Fujifilm’s sensor technology forms part of its distinctive imaging approach.
- Film heritage: Decades of color science influence how Fujifilm approaches its digital image rendering.
- Straight out of camera: Many photographers can use JPEGs directly when the captured look already feels complete.
- Why it matters for RAW vs JPEG
- With other systems, JPEG can feel like the camera’s basic processed output.
- With Fujifilm, the selected Film Simulation can be an intentional part of the final photograph.
For the deeper technical story and practical recipe ideas, see 10 Best Fujifilm Travel Recipes for Everyday Shooting (2026 Picks).
That context makes the next question more useful: when is a Fujifilm JPEG genuinely sufficient without opening an editor?
When Are Fujifilm JPEG Settings Good Enough?
JPEG alone is reliable when light is even, exposure is accurate, and the final use does not require heavy post-processing.
These are the specific situations where a dialed-in Fujifilm JPEG needs nothing further:
- Good, even light
- Best conditions: Daylight, overcast skies, and open shade.
- Why JPEG works: Consistent light makes exposure and color easier to get right in-camera.
- Social media and web use
- Best conditions: Instagram, websites, online galleries, and other screen-based publishing.
- Why JPEG works: 8-bit JPEG provides more than enough information for typical web viewing and publishing.
- Travel and street photography
- Best conditions: Fast-moving trips, walks, markets, and everyday documentary shooting.
- Why JPEG works: Finished files reduce processing time when shooting volume and speed matter more than pixel-level control.
- Quick client turnaround
- Best conditions: Events, conferences, and assignments requiring same-day delivery.
- Why JPEG works: Finished JPEGs can move directly into delivery without waiting for a RAW processing workflow.
- You’ve already dialed in a trusted recipe
- Best conditions: Familiar subjects and lighting where your recipe has already produced consistent results.
- Why JPEG works: Reliable Fujifilm JPEG settings reduce the need to correct color and contrast frame by frame.
The takeaway: “Good enough” means genuinely publication-ready here, not a compromise or a lesser version of the photograph.
For camera-specific options that fit this kind of shooting, browse Fujifilm cameras and match them with the settings you already trust.
When Should You Still Shoot RAW on a Fujifilm Camera?
RAW earns its place whenever light is unpredictable, exposure margin is tight, or the final output demands maximum control.
These are the specific situations where RAW is the safer call:
| Situation | Why RAW earns its place |
| Mixed or difficult lighting | Indoor events, backlit scenes, and harsh midday sun |
| Exposure margin for error | Fast-moving or unrepeatable moments |
| Large-format printing | Billboards, gallery prints, and fine-art work |
| Heavy retouching or compositing | Commercial and portrait retouching |
| Testing a new recipe | A RAW safety net while dialing in unfamiliar settings |
The practical point: Fujifilm RAW matters most when you cannot afford to lose editing flexibility after capture.
Two FujiPic Recipes Worth Trying
- Warm Night
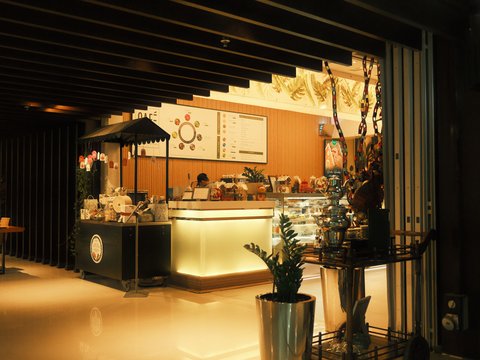
- Film Simulation: Classic Negative
- Compatible cameras: X-E4, X-Pro3, X-S10
- Why it fits: A useful example of a recipe built around a specific shooting mood rather than neutral JPEG output.
- Night Reversal
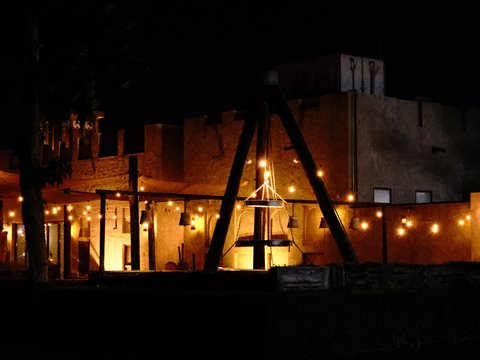
- Film Simulation: Velvia
- Compatible cameras: X-E4, X-E5, X-H2
- Why it fits: Its Velvia foundation makes it an interesting choice when stronger color is part of the intended finished image.
If you enjoy working this way, browse FujiPic’s recipe collection for more combinations matched to cameras, Film Simulations, moods, and shooting situations.
Shooting RAW does not mean abandoning Fujifilm’s JPEG engine, because the next section shows how both formats work together.
How to Use RAW + JPEG on Fujifilm?
Most experienced Fujifilm shooters capture RAW and JPEG together, rather than choosing between them for every shoot.
Here is how to set that up and use it without doubling your workload:
- Set image quality to RAW+JPEG
Open the Image Quality settings and select RAW+JPEG, then choose Fine or Normal for the JPEG.
This gives you a finished JPEG for immediate use while keeping the matching RAW file available for deeper corrections. - Load your Film Simulation recipe
Choose a Custom Setting slot and load a tested recipe that suits the way you plan to shoot.
The selected Film Simulation and recipe settings are then applied to the JPEG, giving you the finished look straight from the camera. - Use JPEG as your default deliverable
Start with the JPEG for sharing, publishing, client previews, or any image that already looks right in-camera.
Only open the matching RAW when a specific photograph needs exposure, highlight, shadow, or white-balance correction. - Separate RAW and JPEG across card slots
On a dual-slot Fujifilm body, configure one card for JPEG files and the other for RAW files.
Keeping the formats separated makes file management, backup, and culling easier when you return from a large shoot.
The tradeoff is higher card and storage usage, but you gain complete flexibility without forcing every photograph through an editing workflow.
How to Set Up Fujifilm JPEG Settings So You Rarely Touch RAW?
A well-built recipe, not one magic setting, is what gets Fujifilm JPEGs close enough to skip editing.
These are the settings worth getting right first:
- Dynamic Range: Use DR200 or DR400 in high-contrast scenes to protect highlight detail before the JPEG is baked.
- This gives the JPEG more highlight protection in difficult light, particularly when bright skies or reflective surfaces dominate.
- Highlight and Shadow Tone: Match the tone curve to the scene’s contrast instead of simply leaving both controls at default.
- Lower settings can keep contrast manageable in harsh light, while stronger settings can add definition when the scene looks flat.
- White Balance and R/B Shift: White balance and its R/B shift often determine the signature color cast that makes one recipe feel distinct.
- Start with the recipe’s specified white balance, then adjust the shift carefully when you want warmer, cooler, or more nuanced color.
- Grain and Color Chrome: Grain and Color Chrome add finishing texture and color depth that can make the JPEG feel intentionally rendered.
- These controls can give skies, foliage, shadows, and fine textures more character without requiring another post-processing pass.
Once you understand these Fujifilm JPEG settings, browse tested Fujifilm recipes instead of guessing every variable from zero.
For recipes that depend heavily on precise color balance, the White Balance Shift Visualizer can also make R/B adjustments easier to understand.
Fujifilm JPEG vs RAW: Which Format Fits Each Use Case?
The right choice depends more on your end use than your skill level or Fujifilm camera model.
Use this table to find your situation:
| Use Case | Recommended Format | Why |
| Hobbyist / personal shooting | JPEG | Finished images without editing |
| Travel and street photography | JPEG | Fast shooting and sharing |
| Social media content | JPEG | Immediate web-ready files |
| Wedding and event photography | RAW | Greater exposure recovery |
| Product or commercial photography | RAW | Flexible color and retouching |
| Large-format fine-art printing | RAW | Maximum tonal flexibility |
These are strong defaults, not rigid rules, and your recipe confidence should adjust where you land in the Fujifilm JPEG vs RAW decision.
Common Myths About Fujifilm JPEG Quality
Most negative claims about Fujifilm JPEG quality come from outdated assumptions about JPEGs generally, rather than Fujifilm specifically.
Here are the three claims worth correcting:
- Myth: JPEGs can’t be edited at all
- JPEGs still allow practical adjustments to exposure, cropping, white balance, and tone after capture.
- Their smaller tonal range mainly limits extreme exposure recovery and aggressive corrections compared with the original RAW data.
- Myth: 8-bit JPEG always looks worse than RAW
- Bit depth becomes more noticeable during heavy editing, particularly across smooth gradients or strongly adjusted tonal transitions.
- A well-exposed finished JPEG can look indistinguishable from RAW in normal viewing and publishing situations.
- Myth: Shooting JPEG-only means you’re not a serious photographer
- Professional photojournalists and documentary photographers have used JPEG-only workflows when speed and immediate delivery matter.
- Fujifilm’s strong SOOC rendering makes JPEG practical when the camera’s finished output already matches the intended photograph.
If you want to move beyond ready-made recipes, learn how to build a custom Fujifilm recipe from scratch and fine-tune each setting for your preferred look.
Both formats are legitimate tools, with the right choice depending on the demands of the job.
Stop Editing Every JPEG
A good Fujifilm recipe can get you closer to the finished look before the file ever reaches your computer.
FujiPic helps you build that starting point with:
- Film Simulation: Choose recipes built around Fujifilm’s distinctive Film Simulations.
- Camera compatibility: Find recipes suited to your specific Fujifilm body.
- Complete settings: Get the key JPEG parameters instead of guessing each adjustment.
- Different looks: Explore recipes for everyday shooting, travel, street, portraits, and more.
Pick a look. Load the settings. Shoot more JPEGs you actually want to keep.
Final Thoughts
Most well-shot Fujifilm JPEGs need no editing, while RAW remains a smart safety net for difficult light and professional work. The practical choice becomes easier when your camera settings consistently produce the look you want before importing files.
Start by choosing one reliable Film Simulation recipe, then configure its Dynamic Range, tone, white balance, and R/B shift. Next, save that setup to a Custom Setting slot and use it consistently across the shooting situations it suits.
You now have a practical answer to Fujifilm JPEG versus RAW, based on the photograph and workflow rather than opinions.
Browse the FujiPic recipe library and free Fujifilm tools to build a JPEG workflow that suits your shooting style.
Frequently Asked Questions
- Should I shoot Fujifilm in JPEG or RAW?
JPEG is usually enough for well-exposed everyday work, while RAW gives you greater latitude for difficult lighting and professional editing.
- Can Fujifilm JPEG settings really replace RAW editing?
Well-built Fujifilm JPEG settings can minimize editing for many shots, but they cannot match RAW for major exposure recovery.
- Do Fujifilm JPEGs lose quality compared to RAW files?
Fujifilm JPEGs retain less editable information than RAW files, although a well-exposed JPEG can look excellent without visible quality loss.
- What happens if I shoot RAW and JPEG together?
RAW and JPEG capture simultaneously, giving you an immediately usable JPEG alongside the matching RAW for selective corrections later.
- Can I recover an overexposed Fujifilm JPEG like a RAW file?
An overexposed Fujifilm JPEG offers limited recovery, because clipped highlight information cannot be reconstructed like additional RAW data.
- Do professional photographers shoot Fujifilm JPEG only?
Yes, some professional photographers shoot Fujifilm JPEG-only, particularly when fast delivery and consistent straight-out-of-camera results matter.
- Does a Film Simulation affect the RAW file too?
A Film Simulation changes the JPEG rendering, while the RAW retains the underlying sensor data for later interpretation during processing.
- What is the best Fujifilm JPEG setup for beginners?
Start with RAW+JPEG, a Film Simulation you like, and moderate Dynamic Range, Highlight, Shadow, and white-balance settings.