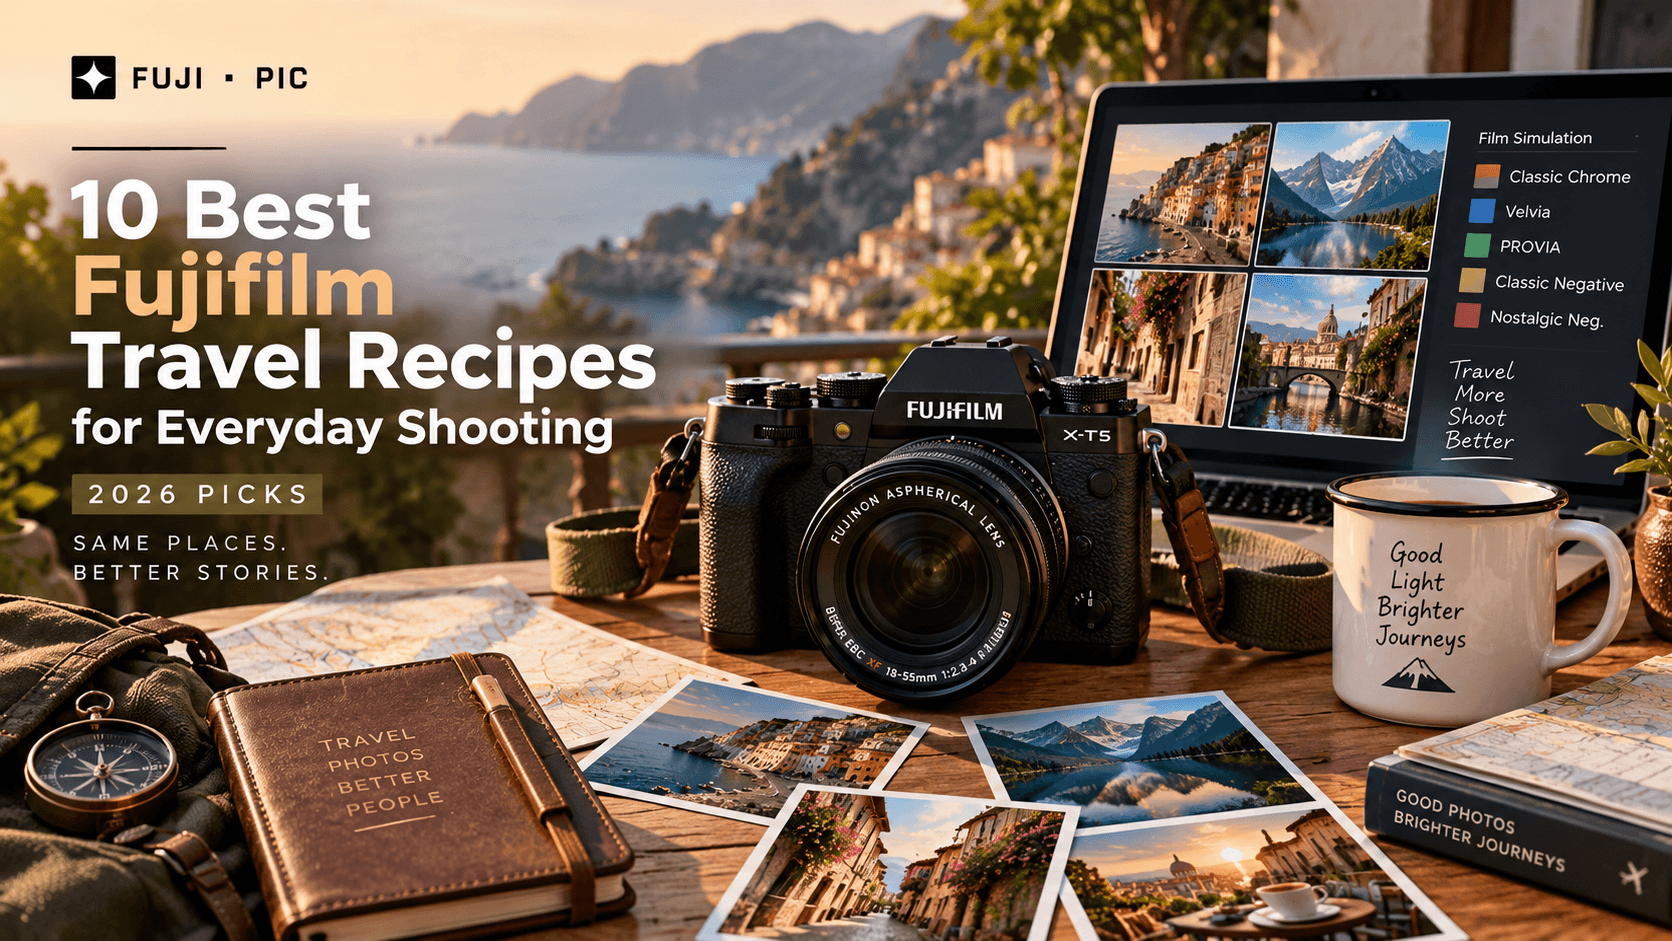
10 Best Fujifilm Travel Recipes for Everyday Shooting (2026 Picks)
Discover Fujifilm film simulation recipes for travel — vibrant landscapes, street scenes, and portraits made easy.
Ever come back from a trip with great photos, but find that every scene seems to need a different edit?
Travel can take you from harsh sunlight to cloudy streets, dim cafés, and warm evening light in just a few hours.
That is exactly where Fujifilm travel recipes can come in handy. Pick a look that suits the trip, save it to the camera, and let the JPEG settings handle much of the work as you shoot.
Each recipe is a camera profile built around a Fujifilm film simulation and a set of supporting settings. White balance, color, tone, grain, and other JPEG controls work together to create a particular look straight out of the camera.
Whether the next frame is a colorful market, a quiet street, or a quick portrait of a travel companion, the right recipe can give it a finished look without sending every photo into an editing app.
Let’s explore some top Fujifilm travel recipes for everyday shooting.
Why Use Fujifilm Recipes for Travel?
Fujifilm recipes make travel photography easier by giving JPEGs a polished look straight from the camera. Fuji’s Film Simulations are inspired by classic film stocks, while custom recipes combine them with settings that shape the final image.
That means less time editing and more time shooting. JPEGs are also convenient when traveling because there is no need to carry a laptop or open an editing app for every photo.
Key benefits of using recipes while traveling:
- Instant results: JPEGs come out with the chosen look already applied.
- Consistent style: The same recipe can give a series of travel photos a cohesive appearance.
- Less editing: There is less need for desktop software or editing apps while traveling.
- Quick adjustments: Saved custom settings make it easier to change looks as the scene changes.
- Film-inspired color: Recipes can recreate aesthetics associated with classic film stocks.
For example, a Kodak Portra-like recipe can give street portraits a warm, nostalgic tone straight from the camera.
New to recipes? Read FujiPic’s beginner’s guide to Fujifilm Film Simulation recipes before creating a travel setup.
Top 5 Film Simulations for Travel
The Film Simulation sets the starting character of a Fujifilm JPEG. For travel, the best choice usually comes down to the scene, the light, and how much color you want.
- Classic Chrome
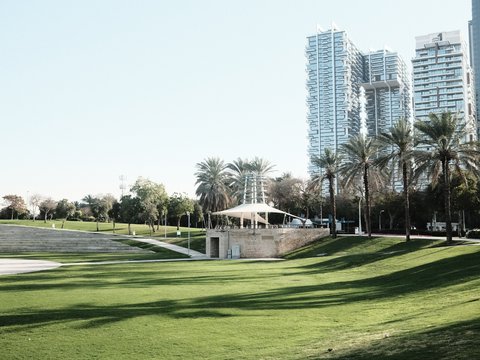
For: Street photography, architecture, markets, and documentary-style travel
What it does:
- Muted color
- Controlled contrast
- Cooler, more restrained rendering
Use it when: The location already has plenty of visual detail and you want the colors to stay understated.
Travel setting: Auto WB works well when moving between sun and shade. Fujifilm describes Classic Chrome as versatile across subjects and light sources, with a look influenced by documentary photography.
- Velvia/Vivid
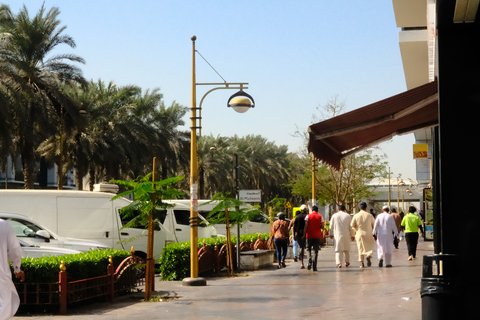
For: Landscapes, beaches, mountains, forests, and colorful streets
What it does:
- Stronger saturation
- Higher contrast
- Richer greens, blues, and reds
Use it when: Color is one of the main reasons the scene is worth photographing.
Travel setting: DR200 can help in bright, high-contrast conditions. Shade WB can add warmth when the scene looks too cool. Fujifilm positions Velvia specifically for landscape and nature photography.
- PROVIA/Standard
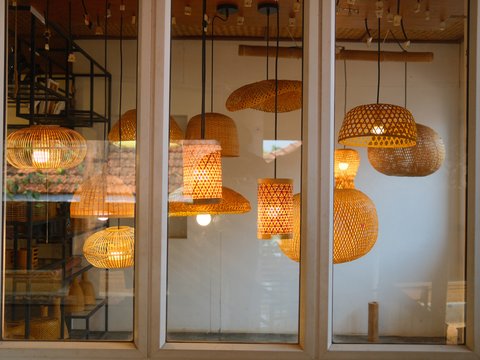
For: Everyday travel photos and mixed subjects
What it does:
- Balanced color
- Moderate contrast
- Natural overall rendering
Use it when: One dependable look needs to handle portraits, food, landmarks, streets, and spontaneous snapshots.
Travel setting: Auto WB keeps the setup flexible when the lighting changes throughout the day. Fujifilm describes PROVIA as suitable for a wide range of subjects.
- Classic Negative
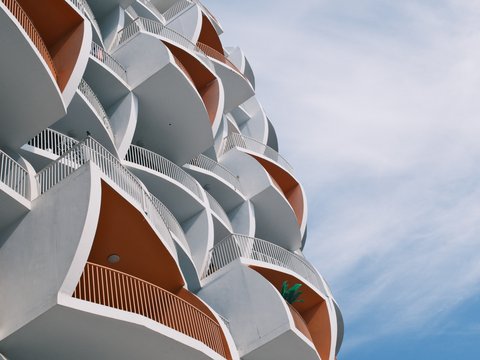
For: Street photography, portraits, cafés, and nostalgic scenes
What it does:
- Stronger tonal separation
- Distinctive color
- More visual character than PROVIA
Use it when: A little more contrast and personality fits the location.
Travel setting: Watch bright highlights in harsh sunlight. The final look can change significantly through the recipe’s White Balance shift and tone settings.
- NOSTALGIC Neg.
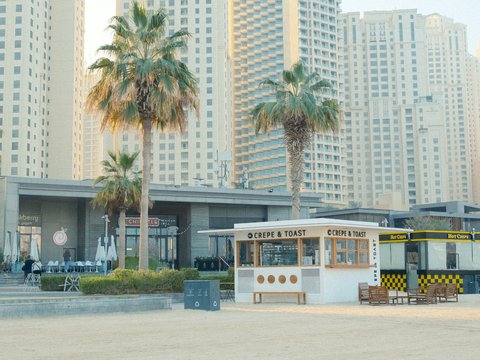
For: Golden-hour streets, travel portraits, cafés, and warm everyday scenes
What it does:
- Warm amber highlights
- Richer shadow tones
- Soft, nostalgic color character
Use it when: Warmth and atmosphere matter more than neutral color.
Travel setting: Keep an eye on mixed lighting, as the warm rendering can become stronger indoors. A recipe-specific White Balance shift can fine-tune the warmth without losing the overall character.
Which one should you pick?
- City streets: Classic Chrome
- Landscapes and bold color: Velvia
- Mixed everyday shooting: PROVIA
- Stylized streets and portraits: Classic Negative
- Film-inspired travel look: Try a recipe built around one of these simulations
- Warm travel scenes and portraits: NOSTALGIC Neg.
The important part is that a Film Simulation is only the starting point. FujiPic recipes combine it with White Balance, Dynamic Range, Highlight, Shadow, Color, Grain, and other JPEG controls to create a specific finished look.
That is where the 10 Fujifilm travel recipes below come in.
Know which Film Simulation fits the scene, but want a more specific look? Browse FujiPic’s recipe library to find ready-to-use Fujifilm recipes for different cameras, subjects, and shooting styles.
5 Recommended Custom Recipes for Travel
Custom recipes take a Film Simulation and combine it with settings such as White Balance, Dynamic Range, Highlight, Shadow, Color, Grain, and Color Chrome. The result is a ready-to-use JPEG look straight from the camera, without needing to edit each photo afterward.
- Kodachrome 64
- Film Simulation: Classic Chrome

- Best for: Road trips, landscapes, architecture, colorful streets
- Look: Punchy color with a muted slide-film character
- Why photographers like it: Gives travel scenes a distinctive film-inspired appearance without heavy saturation.
- Camera note: FujiPic provides an X-Trans IV to X-Trans V conversion for cameras including the X100VI and X-T5.
- 1970’s Summer
- Film Simulation: Nostalgic Neg.
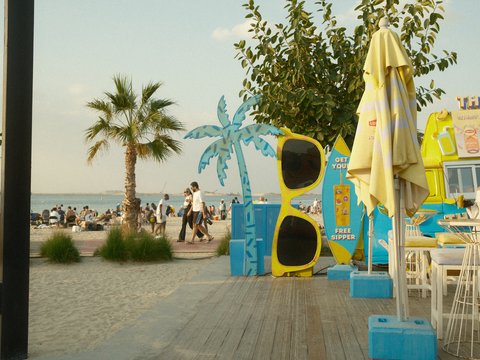
- Best for: Summer trips, golden hour, family travel
- Look: Warm amber tones with a vintage feel
- Why photographers like it: Works especially well with warm sunlight and gives ordinary vacation scenes a 1970s character. FujiPic recommends this recipe as a starting point for Nostalgic Neg.
- Reggie’s Portra
- Film Simulation: Classic Negative / recipe-dependent

- Best for: Travel portraits, people, cafés, street scenes
- Look: Soft, warm tones with flattering skin color
- Why photographers like it: A useful choice when people are a major part of the trip and skin tones matter. FujiPic also includes Reggie’s Portra in its recipe tools and sensor-conversion examples.
- Aveo Ultra Print
- Film Simulation: Classic Negative
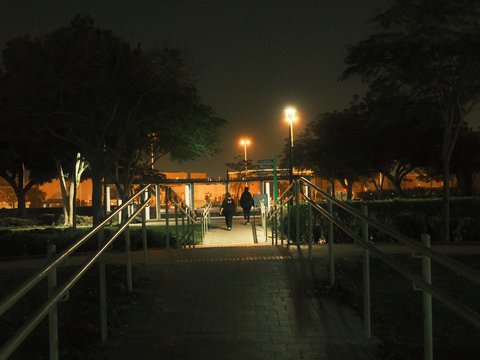
- Best for: Streets, architecture, city walks
- Look: Warm, print-inspired color with added character
- Why photographers like it: Gives everyday urban scenes a stronger visual identity while keeping the JPEG workflow simple. FujiPic currently lists Aveo Ultra Print as a Classic Negative recipe for X-Trans IV.
- Kodak Tri-X 400
- Film Simulation: Acros
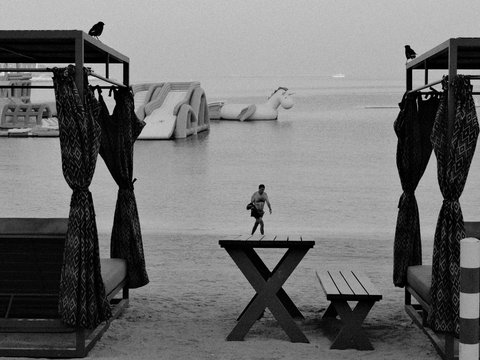
- Best for: Street photography, portraits, architecture
- Look: Grainy black and white with strong contrast
- Why photographers like it: Useful when color distracts from light, texture, people, and composition. The JPEG is already monochrome, so there is no conversion step afterward.
A simple way to choose
- Colorful landscapes: Kodachrome 64 or a Velvia-based recipe
- Warm summer scenes: 1970’s Summer
- People and portraits: Reggie’s Portra
- City streets: Aveo Ultra Print
- Black-and-white travel: Kodak Tri-X 400
That gives the photographer a clear starting point instead of five recipes that all sound interchangeable. The next step can then move into the full 10-recipe list with the exact camera settings and compatibility details.
Essential Settings for Travel Shots
Beyond Film Simulations, a few simple camera settings can make travel shooting quicker and more consistent.
- White Balance: Auto or Daylight
- Use Auto WB: When moving between sunlight, shade, and indoor locations.
- Use Daylight: When keeping outdoor colors consistent across a series.
- Recipe tip: Keep the recipe’s recommended WB shift when using a custom look. FujiPic’s White Balance Shift Visualizer helps you understand the R/B shift behind different recipes.
- ISO: Auto with a ceiling
- Good starting point: Set Auto ISO with a maximum around ISO 3200.
- This gives the camera room to raise sensitivity as light falls while keeping shutter speeds practical for handheld shots.
- For night scenes: Increase the ISO ceiling when avoiding motion blur matters more than minimizing noise.
- Exposure Mode: Aperture Priority
- Use it for: Walks, street photography, portraits, and changing subjects.
- Choose the aperture you want, and let the camera adjust shutter speed automatically.
- Switch to Shutter Priority: When photographing moving people, vehicles, or other fast subjects.
- Dynamic Range: DR200
- Use it for: Bright streets, sunny landscapes, and scenes with strong highlights.
- DR200 gives more highlight protection than DR100, which can help preserve bright skies and sunlit surfaces.
- Use DR400: Only when the lighting is especially contrasty and the camera supports it with the required ISO.
- Exposure Compensation: Small adjustments
- Try +1/3 EV: For brighter portraits when skin tones look too dark.
- Try -1/3 EV: When bright skies, windows, or reflective surfaces are close to clipping.
- Small changes are especially useful with JPEG recipes because the final tonal look is already being processed in-camera.
- Save Recipes to Custom Settings
- Use: C1-C7 when the camera provides those slots.
- Save complete recipes so the Film Simulation, WB, Dynamic Range, tone, color, grain, and other settings can be recalled together.
- FujiPic’s camera directory can help check compatibility before loading a recipe, particularly when moving between X-Trans IV and X-Trans V cameras.
With the right recipe saved and these settings dialed in, changing from bright daytime scenes to evening streets becomes much easier.
For better travel portraits, explore FujiPic’s Fujifilm portrait recipes for natural-looking skin tones.
Practical Travel Shooting Tips
The right recipe helps with the JPEG look. A few shooting habits can make those recipes even more useful while traveling.
- Pack one versatile lens. A travel zoom or flexible prime can cover most everyday situations without constantly changing lenses. That matters when shooting quickly in crowded streets or moving between locations.
- Keep the camera loaded with a recipe. Save a dependable look to a Custom Setting slot before leaving. FujiPic’s recipe library lets you browse recipes by Film Simulation and sensor generation.
- Look for the best light. Early morning and late afternoon usually give softer, more directional light than midday sun. Use that light for portraits, architecture, and streets before reaching for heavier settings.
- Give people some context. A local person walking through a market or sitting outside a café can turn an ordinary location into a more memorable travel photo. Ask before taking a close portrait, especially when photographing strangers.
- Check the scene before pressing the shutter. Watch bright skies, reflective surfaces, and deep shadows that can push a JPEG beyond recovery. FujiPic recipes can include DR200 or DR400 specifically to provide more highlight headroom in high-contrast scenes.
These small habits work especially well with a ready-to-use recipe, letting the camera handle much of the JPEG styling while you concentrate on the scene.
End Notes
Travel photography does not need a complicated editing workflow. With the right Fujifilm travel recipes, the camera can produce JPEGs with a polished, film-inspired look as each moment is captured.
Classic Chrome, Velvia, PROVIA, and Classic Negative each bring something different to everyday travel scenes. Pair them with sensible ISO, White Balance, Dynamic Range, and exposure settings, and the setup becomes much easier to manage.
The biggest advantage is convenience. Finished-looking JPEGs are ready to share without spending hours editing every frame after the trip.
Ready to find a look for the next adventure? Explore all travel-ready Fujifilm recipes on FujiPic and find the recipe that fits the way you shoot.
FAQs
- What Fujifilm recipe is best for city streets at dusk?
Classic Chrome or a Portra-like recipe can work well for city streets at dusk. Classic Chrome keeps colors controlled, while Portra-inspired recipes add warmer tones to people and evening scenes.
- Should I shoot RAW+JPEG when traveling?
Yes, RAW+JPEG gives you an instant finished JPEG while keeping the RAW file for later editing. It is useful when a recipe looks great but a difficult exposure needs more recovery afterward.
- How many Fujifilm recipes can I carry on a trip?
The number depends on the Fujifilm camera model and its available Custom Settings slots. Cameras with C1-C7 can store seven custom setups, letting you keep different Fuji JPEG recipes ready for common travel situations.
- Do Fujifilm travel recipes work on any Fuji camera?
No. Recipe compatibility depends on the camera’s Film Simulations, sensor generation, and available settings. Check FujiPic’s camera directory and recipe compatibility before loading a recipe.
- What settings are best for Fuji travel photography?
Auto WB, Auto ISO, and Aperture Priority are practical starting points for changing travel conditions. Adjust Dynamic Range and exposure compensation when bright skies or difficult lighting require more control.
- Which Film Simulation is best for travel photos?
PROVIA/Standard is a versatile everyday option, while Classic Chrome suits streets and architecture and Velvia/Vivid works well for colorful landscapes. Classic Negative is useful when a more distinctive look is preferred.
- Are Fujifilm recipes better than editing travel photos later?
Recipes are not necessarily better, but they make the workflow faster. In-camera JPEGs can already have the intended color and tone, so less time is needed in editing software after shooting.
- Can I use Fujifilm recipes for both photos and travel portraits?
Yes. Many Fujifilm travel recipes work across streets, landscapes, and portraits, although skin tones should influence the choice. Portra-like and softer Classic Chrome recipes are often useful when people are a major part of the trip.