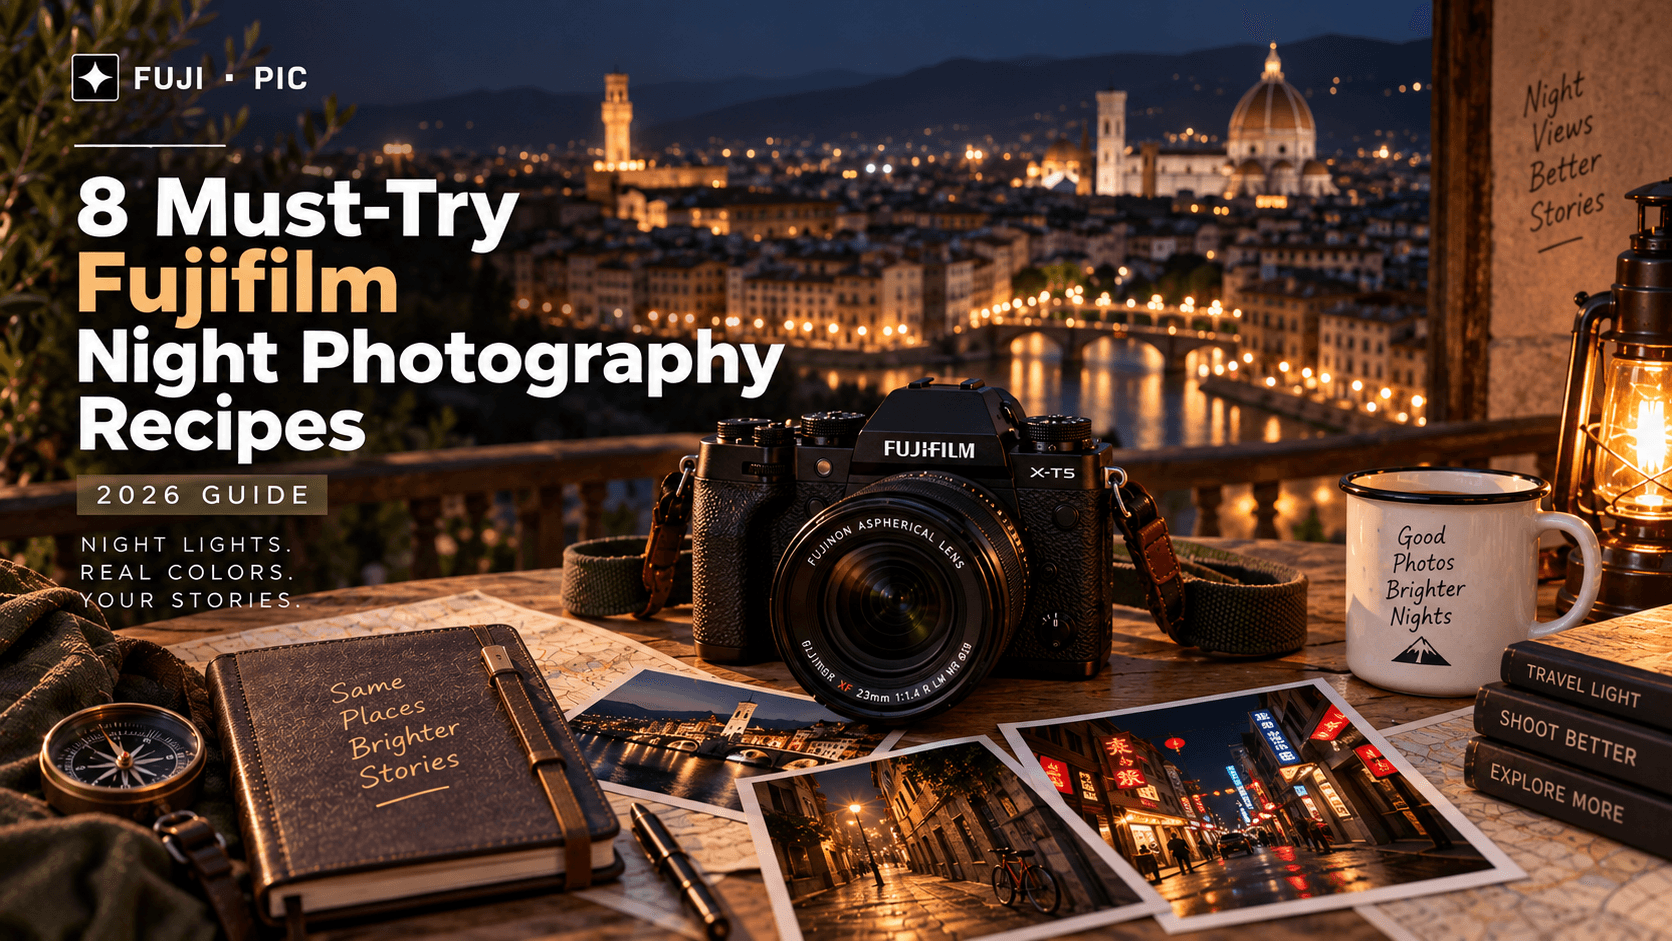
8 Must-Try Fujifilm Night Photography Recipes
Explore 8 Fujifilm night photography recipes for neon, city lights, and low-light scenes, with camera settings and tips for sharper shots.
We’ve all been there. It’s 11 PM, the city is glowing, you’ve got your Fujifilm in hand, and that neon sign across the street looks absolutely incredible. You take the shot, check the LCD, and… somehow, it looks nothing like what you saw.
Night photography has a funny way of doing that. One moment you’re surrounded by gorgeous pools of color, glowing windows, and moody shadows; the next, your highlights are blown, your shadows are a muddy mess, and that beautiful neon has lost all its punch.
The good news? You don’t need to fight your camera every time the sun goes down. The right Fujifilm night photography recipes can give you a dependable look that’s ready to go when you are.
Set them once, head out, and shoot. Film simulations and custom recipes can do a surprisingly good job of handling the high-contrast mix of dark streets, bright signs, and colorful city lights, so you can spend less time fiddling with settings and more time chasing that perfect frame.
Challenges of Night & City Photography
Night photography looks easy until you actually try it. The city can be glowing with beautiful light, but your Fujifilm still has to deal with very little available light.
Here’s what usually makes those after-dark shots tricky:
- Low light: Shadows can turn muddy, while slower shutter speeds can introduce blur or camera shake.
- High contrast: A bright neon sign can sit right beside a nearly black street, making exposure harder to balance.
- Mixed lighting: Street lamps, tungsten bulbs, storefronts, and neon all bring different color temperatures into the same frame.
- Digital noise: Pushing ISO higher can bring unwanted grain, especially in darker areas of the image.
- Color casts: Artificial lights can shift colors toward orange, green, blue, or magenta, sometimes in the same scene.
It can feel like a lot to juggle when you’re trying to catch a fleeting moment. That’s where tailored Fujifilm in-camera recipes come in, giving you a reliable starting point for those unpredictable night scenes.
What Makes Night Photography Recipes Different From Daylight Recipes?
Fujifilm night photography recipes handle mixed color temperatures, higher ISO noise, and compressed dynamic range that daylight recipes rarely encounter.
After dark, bright signs, deep shadows, and competing light sources all fight for your camera’s attention.
Here’s what specifically changes once the sun goes down:
- Artificial light behaves differently: Sodium vapor, neon, LED, and tungsten lights each introduce their own color cast, making white balance less predictable.
- Grain can work in your favor: Higher ISO brings more noise, but controlled grain can blend into a nighttime look instead of feeling distracting.
- Highlights need extra attention: Neon signs and illuminated windows can clip quickly, so highlight roll-off often matters more than recovering deep shadows.
Think about a typical city street: a warm street lamp, a cool LED storefront, and a red neon sign can all hit your frame at once.
That’s why your daytime recipe may suddenly give you strange skin tones, muddy shadows, or colors that feel completely off at night. A night-focused recipe gives you a more dependable starting point before you press the shutter.
Ready to experiment? Explore recipes built for low light
Best Camera Settings for Fujifilm Night Photography
For Fujifilm night shooting, prioritize a wide aperture, steady shutter speed, and controlled Auto ISO for cleaner handheld exposures.
These Fuji night settings provide a practical starting point, while your lens, sensor, stabilization, and tolerance for noise determine adjustments.
Start here:
- Aperture Priority: Use Aperture Priority for handheld shooting, choosing a wide aperture when available to gather more light.
- Minimum Shutter Speed: Set a shutter-speed floor around 1/60 to 1/125, adjusting upward when using longer lenses.
- Auto ISO Ceiling: Raise your Auto ISO ceiling only as far as your camera produces acceptable noise for your preferences.
- Image Stabilization: Use in-body or lens stabilization when available, letting you handhold at slower shutter speeds with static subjects.
Using a tripod? For static scenes, lock the camera down and lower ISO instead, giving you cleaner files and greater tonal flexibility.
Your camera generation matters here, so check your camera’s high ISO limits before pushing Auto ISO higher.
Best Fujifilm Recipes for Neon Signs and City Lights
Neon recipes need to keep intense colors from washing out while giving bright signs and surrounding shadows enough separation. The right Fujifilm low light recipes can also give artificial lighting a deliberate color character instead of fighting every color cast.
Here are three FujiPic recipes worth trying when the city lights come on:
- Warm Night
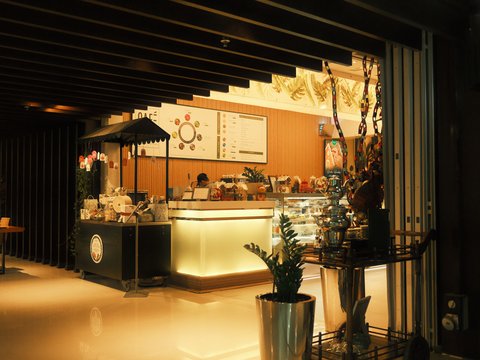
Film simulation: Classic Negative
Compatible cameras shown on FujiPic: X-E4, X-Pro3, X-S10
The look:
- Warm, nighttime-oriented color character
- Classic Negative foundation
- Strong fit for artificial city lighting
- Useful when you want warmth rather than a neutral correction
- Particularly interesting for scenes mixing darkness with illuminated subjects
Where I’d use it:
- Neon-lit streets where warm storefronts and colorful signs dominate the frame.
- Late-night storefronts where artificial light becomes the main source of illumination.
Why it makes sense: Classic Negative already has a distinctive response to contrast and color, and a recipe specifically named Warm Night gives you a purposeful starting point rather than forcing you to neutralize the scene.
- Night Reversal
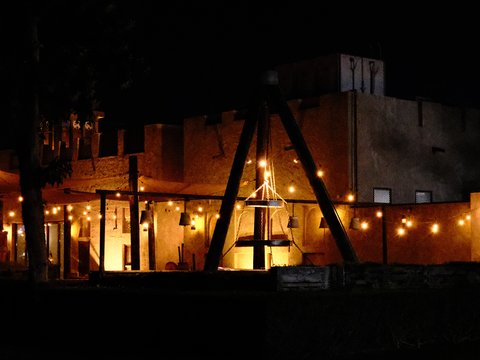
Film simulation: Velvia
Compatible cameras shown on FujiPic: X-E4, X-E5, X-H2
The look:
- Velvia-based rendering
- Stronger color presence
- Designed around a nighttime/reversal-film character
- A natural candidate when saturated city colors are the subject
Where I’d use it:
- Neon-heavy streets where signs, storefronts, and illuminated displays provide most of the visual interest.
- Colorful city scenes where you want the artificial lights to remain visually prominent.
Why it makes sense: Velvia is already associated with vivid color, so this recipe is worth testing when your night scene depends on saturated reds, blues, greens, and other illuminated colors.
One caution: vivid rendering doesn’t magically prevent clipping. If a neon sign is already overexposed, no recipe can restore highlight information that the sensor didn’t capture.
- Late Night Print
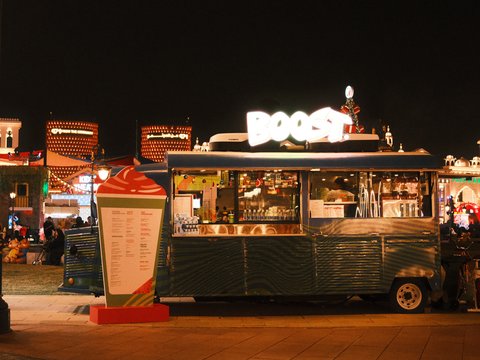
Film simulation: Classic Negative
Compatible cameras shown on FujiPic: X-E5, X-H2, X-H2S
The look:
- Classic Negative-based rendering
- Night-focused character
- Print-inspired aesthetic
- Well suited to scenes where artificial light meets deeper surroundings
Where I’d use it:
- Dense signage districts with lots of illuminated surfaces.
- Late-night street walks where bright storefronts contrast against darker streets.
Why I’d reach for it: The Classic Negative base makes this particularly interesting for urban scenes where you want the lights and surrounding darkness to feel like parts of the same photograph.
Which One Should You Try First?
| FujiPic recipe | Film simulation | Night-shooting use |
| Warm Night | Classic Negative | Warm artificial light and neon streets |
| Night Reversal | Velvia | Saturated neon and colorful city lights |
| Late Night Print | Classic Negative | Signage districts and darker urban scenes |
- One practical trick matters regardless of the recipe: watch the brightest neon in your frame before worrying about the shadows.
- If that glowing sign starts turning white, slightly underexpose the frame to protect its color and internal detail.
- You can usually tolerate a darker street much more easily than a completely clipped sign.
And don’t be afraid to experiment. Night scenes change dramatically from one street to the next, so the recipe that works beautifully under warm storefronts may behave differently under cool LED signs.
Best Fujifilm Recipes for Neon Signs and City Lights
Neon-focused recipes need to hold saturated colors without clipping while keeping bright signs from blooming into featureless patches. Fujifilm low light recipes can also shape the color and grain of artificial lighting instead of leaving every night scene looking technically flat.
If you’ve already tried the dedicated night recipes, these three FujiPic options give you different ways to approach city lights.
- Nightfall Ember
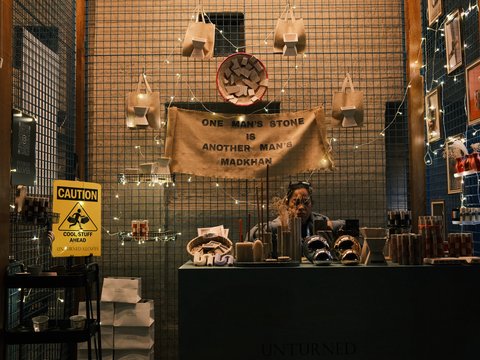
Film simulation: Classic Negative
Compatible camera: Fujifilm X100V
Nightfall Ember pushes warm, saturated color, making artificial city lighting feel richer without losing its nighttime character.
- Best for: Shopfronts, food stalls, illuminated streets, and warm urban scenes where practical lights dominate.
- Why try it: Its warm color treatment suits streets filled with glowing storefronts, while its strong saturation makes colorful lighting more noticeable.
- Warm Amber
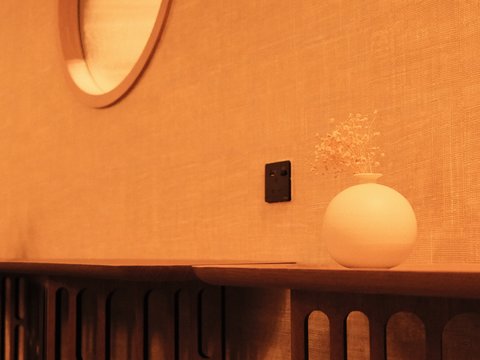
Film simulation: PRO Neg. Std
Compatible cameras: X-E3, X-H1, X-Pro2, X-T6
Warm Amber leans into warmer color, making artificial illumination feel like an intentional part of the photograph.
- Best for: Tungsten-lit streets, warm storefronts, restaurants, and illuminated areas where amber tones already dominate.
- Why try it: Instead of correcting every warm light source toward neutral, you can let that warmth become part of the scene’s character.
- Coral Negative
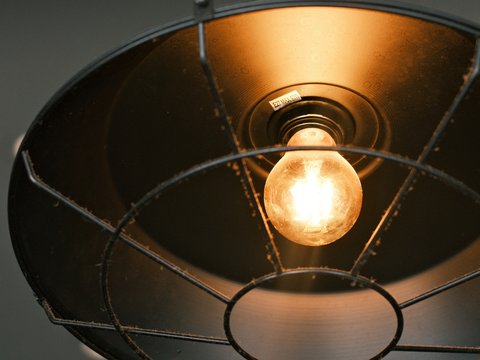
Film simulation: Classic Negative
Compatible cameras: X-E4, X-Pro3, X-S10
Coral Negative uses Classic Negative as its base, giving colorful urban scenes a distinctive treatment when artificial lights fill the frame.
- Best for: Neon storefronts, colorful signage, and illuminated city streets where strong color is central to the composition.
- Why try it: It’s an interesting alternative when you want something more characterful than simply making the night scene brighter or more neutral.
One Neon-Shooting Habit Worth Keeping
- Expose for the brightest light first.
A neon sign can look gorgeous to your eyes while sitting dangerously close to clipping on your camera.
- Try nudging exposure slightly darker when necessary, then check whether the sign still retains its actual color and internal detail.
- That small adjustment can make the difference between a glowing sign and a blown-out blob.
With the brightest city lights covered, let’s move into the quieter streets where darkness takes center stage.
Best Fujifilm Recipes for Quiet Streets and Low-Light Portraits
Quiet streets and low-light portraits need gentler contrast and more forgiving skin tones than neon-heavy scenes usually require.
Fuji recipes for city night portraits should let faces retain natural color while keeping dim streets from becoming overly harsh.
For calmer night scenes, these two FujiPic recipes offer a softer direction worth exploring.
- Softened Daylight
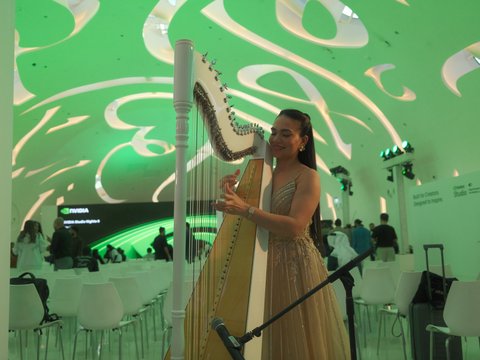
Film simulation: Eterna
Compatible cameras: X-E4, X-Pro3, X-S10
Softened Daylight uses Eterna’s restrained rendering to create a gentler starting point for dim streets and available-light portraits.
- Best for: Quiet residential streets, subdued storefronts, and portraits photographed beneath softer evening illumination.
- Why try it: When the scene doesn’t need punchy contrast, a gentler rendering can help preserve the relaxed character of nighttime light.
- Astia Reverie

Film simulation: Astia
Compatible cameras: X-E4, X-E5, X-H2
Astia Reverie builds around Astia, making it an interesting choice when softer color and portrait-friendly rendering matter.
- Best for: Street portraits, softly illuminated sidewalks, and subjects photographed under gentle evening or streetlamp illumination.
- Why try it: Astia has a strong association with portrait work, making this recipe worth testing when your subject matters more than dramatic contrast.
A Simple Trick for Night Portraits
- Put your subject near one useful light source instead of placing them between several competing sources.
- A nearby streetlamp or shop window gives you a more consistent color environment and makes white balance easier to manage.
- It also gives you cleaner direction in the light, which is much easier to work with than orange, green, and blue light hitting your subject simultaneously.
- For portraits, find one beautiful light source rather than to chase every light source in the street.
- You can also browse low-light portrait recipes when you want to experiment with different Fuji looks.
Once you start working with multiple light sources, white balance becomes the next piece of the puzzle.
How to Handle White Balance Under Mixed Artificial Light?
Mixed artificial light combines different color temperatures, so white balance shift offers more control than choosing one fixed Kelvin value.
For Fuji city night photography, R/B shift helps balance competing streetlights, shop signs, headlights, and neon within one frame.
Here’s what the two shift axes actually do:
| Shift | Move toward | What happens |
| R | Red | Adds warmth to the overall rendering |
| R | Magenta | Helps counter unwanted greenish casts |
| B | Blue | Cools an overly warm scene |
| B | Amber | Warms a scene that feels too cool |
Think of R/B shift as a finishing adjustment, not a universal recipe setting.
Common Artificial Light Sources
- Sodium-vapor streetlights
Typically create a strong orange-yellow cast, especially noticeable on skin, concrete, and neutral-colored surfaces. - Fluorescent or LED signage
Can lean green-blue, although LED color varies considerably between fixtures and manufacturers. - Neon tubing
Produces highly saturated colors, with the exact appearance depending on the gas used inside the tube.
How To Correct The Cast?
Warm orange streetlight?
→ Try shifting toward blue to cool the overall rendering.
Cool LED lighting?
→ Try shifting toward red to introduce additional warmth.
Greenish fluorescent light?
→ A shift toward magenta can help counter that unwanted green appearance.
Heavy neon colors?
→ Don’t automatically neutralize them. Letting some color remain can preserve the atmosphere of the original scene.
One Important Rule
- Don’t chase perfect neutrality when the lighting itself is colorful.
- Instead, adjust until skin, walls, and other important neutral surfaces look believable without removing the character from the scene.
- Small changes are usually easier to judge than trying to correct everything at once.
- You can fine-tune white balance shift for night light before shooting, then compare the results directly on your camera.
If mixed night lighting leaves your colors too warm, cool, green, or magenta, read our Fujifilm White Balance Shift Explained: R & B Made Simple (2026 Guide) to master R/B adjustments.
With color handled, let’s look at another unavoidable part of shooting after dark: noise and grain.
Managing Noise and Grain in Fujifilm Night JPEGs
Fujifilm’s noise reduction and recipe grain settings work together, shaping how high-ISO shadows and fine details appear. Too much noise reduction can smear detail, while too little can leave distracting speckling throughout darker areas.
The goal isn’t to eliminate every trace of noise; it’s to make the grain look intentional.
Noise Reduction vs. Grain
| Setting | What it does | Nighttime consideration |
| Noise Reduction | Reduces visible high-ISO noise | Excessive reduction can soften fine details |
| Grain Effect | Adds deliberate texture | Weak or Strong grain can make noise feel more intentional |
| Both together | Shapes the overall JPEG texture | Balance matters more than maximizing either setting |
Three Habits Worth Trying
- Lower the noise reduction
- Use a lower in-camera noise reduction setting for a more natural, film-like rendering.
- Avoid treating maximum NR as the automatic solution for every high-ISO scene.
- Let the recipe handle grain
- Choose a recipe with Weak or Strong Grain Effect already built into its look.
- This can produce more consistent texture than aggressively removing noise and adding character afterward.
- Protect the exposure
- Slightly underexpose when bright lights threaten to clip, especially in high-contrast night scenes.
- Correct exposure later only when you’ve also captured RAW, since JPEG recovery has considerably less flexibility.
Keep Noise Under Control
- Too much NR: Fine details can become soft or smeared.
- Too little NR: Shadows can show distracting speckling.
- Weak grain: Adds subtle texture without dominating the image.
- Strong grain: Creates a more obvious film-like texture.
- Best approach: Start with lower NR and let the recipe’s grain character do some of the visual work.
One Important Caveat
- Don’t copy an ISO-to-NR combination blindly; different Fujifilm sensors handle high ISO differently.
- Test your recipe at the ISO range you actually shoot, then adjust until the JPEG looks right to you.
If you’re ready to build your own look instead of starting with someone else’s settings, learn how to build a custom Fujifilm recipe from scratch.
Once you’ve got the look dialed in, let’s load that recipe onto your Fujifilm.
How to Load a Night Recipe Onto Your Fujifilm Camera
Save any night recipe to a custom setting slot, such as C1-C7 depending on your Fujifilm model.
Once saved, your preferred night setup is one dial turn away whenever the light starts disappearing.
- Set the recipe: Enter the shooting menu and dial in the film simulation and required recipe parameters.
- Open custom settings: Select Edit/Save Custom Setting from the shooting menu.
- Choose a slot: Pick an available C1-C7 custom setting slot for your night recipe.
- Save and confirm: Confirm the settings, then test the recipe during daylight before using it at night.
- Check your model: Menu paths vary slightly across Fujifilm generations, so find your exact camera’s setup steps.
Tip: Save daylight and night recipes in adjacent slots for quick switching around dusk.
Gear Tips for Shooting City Lights at Night
A fast prime lens and basic stabilization matter more at night than upgrading your camera body.
Good gear helps, but choosing the right lens and controlling unwanted light can make night shooting much easier.
- Wide aperture: Choose a lens with a wide maximum aperture, around f/1.4 to f/2.8, for brighter handheld night exposures.
- Stabilization: Use in-body or lens stabilization to maintain usable shutter speeds when shooting static subjects handheld after dark.
- Travel tripod: Carry a small travel tripod for static city scenes requiring longer exposures and lower ISO settings.
- Control flare: Use a lens hood or angle away from direct lights to reduce neon flare and ghosting across frames.
Gear matters less than light awareness; positioning yourself relative to a useful light source can improve photographs more than changing settings.
With your gear sorted, let’s look at the common mistakes that can undermine otherwise good night photographs.
Common Mistakes When Shooting Fujifilm Night Photography
The biggest pitfall is pushing Auto ISO too high without a shutter floor, creating noise and motion blur simultaneously.
Set a sensible shutter minimum first, then let Auto ISO rise only when the available light genuinely requires it.
- Ignoring white balance shift: Mixed lighting can leave skin and neutral surfaces with distracting color casts.
- Fix: Use R/B shift to gently counter dominant casts instead of accepting every artificial light source as neutral.
- Using a daylight recipe: A recipe designed around daylight can behave unpredictably under artificial lighting.
- Fix: Switch to a night-oriented recipe when artificial lights become the dominant illumination in your scene.
- Shooting directly into signs: Bright neon can clip quickly, destroying the color and detail that make those signs interesting.
- Fix: Change your angle or slightly reduce exposure to protect the brightest illuminated areas.
- Skipping the tripod: Static scenes often benefit from longer exposures that handheld shooting simply cannot provide reliably.
- Fix: Use a tripod when movement isn’t important, allowing lower ISO and cleaner files.
For more practical ideas, read more Fujifilm night and street guides.
With those pitfalls out of the way, let’s answer the night-photography questions Fujifilm shooters ask most often.
End Notes
Fujifilm night photography recipes work best when white balance and grain choices suit the available light. Your ISO ceiling and shutter floor matter just as much, especially when shooting handheld after dark.
Test your recipe in daylight first to check exposure and color before trusting it on your next night shoot.
Browse FujiPic’s recipes and save a few night-ready recipes for your next evening walk.
FAQs
- What is the best Fujifilm recipe for night photography?
There is no single best recipe, but Night Reversal, Warm Night, and Late Night Print suit different urban night scenes.
- What ISO should I use for Fujifilm night photography?
Use the lowest ISO that provides a sharp exposure, then raise Auto ISO only as much as your camera’s noise tolerance allows.
- How do I stop my night photos from looking too orange or too blue?
Adjust white balance and R/B shift toward blue for excessive warmth or toward red and magenta when cooler casts dominate.
- Do I need a tripod for Fujifilm night photography?
You don’t need one for handheld street work, but a tripod helps static scenes achieve slower shutter speeds and lower ISO.
- Why does my recipe look different at night than during the day?
Artificial lighting introduces different color temperatures, stronger contrast, and less available light, changing how the same recipe renders.
- What white balance shift settings work best for neon lights?
There is no universal shift, so adjust R/B gradually according to whether the dominant neon or surrounding lighting appears warm or cool.
- Can I use night recipes for video on Fujifilm cameras?
You can use compatible film-simulation recipes for video, but always test the rendering with your camera’s specific recording settings.
- Where can I find more Fujifilm night photography recipes?
You can browse FujiPic’s recipe library to explore recipes organized around cameras, film simulations, moods, and shooting needs.