
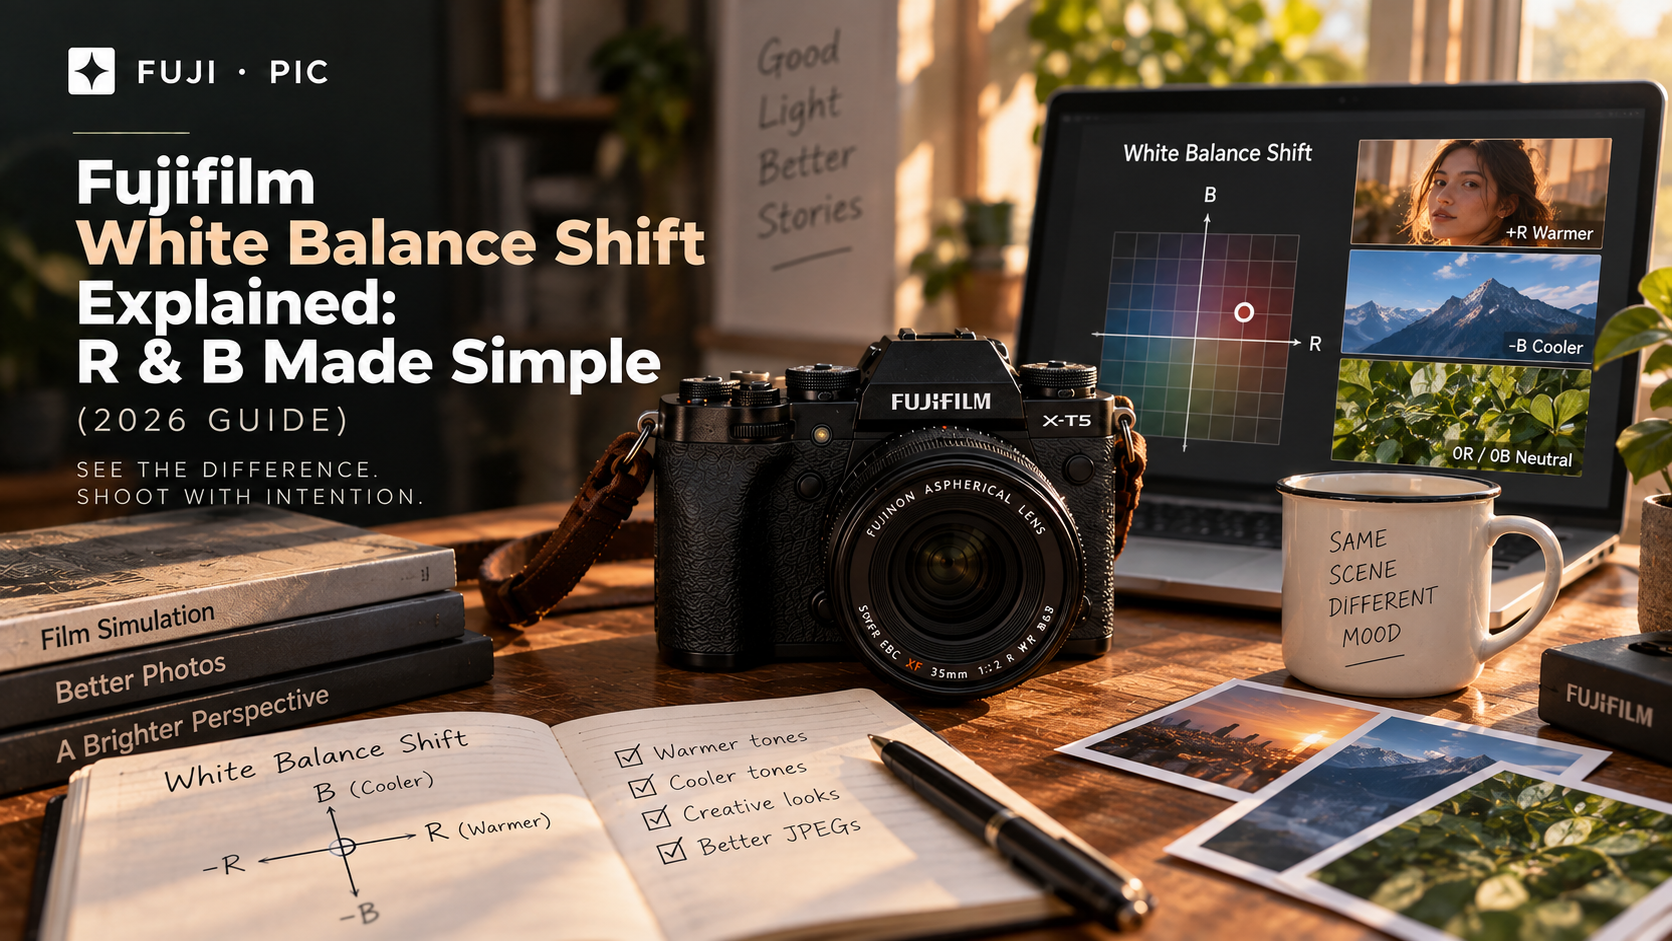
Ever taken a photo with your Fujifilm camera and thought, “Why does this look a little too warm?” Or maybe the colors have a strange green or magenta cast that you weren’t expecting. That’s where Fujifilm White Balance Shift can make a real difference.
Instead of settling for the camera’s standard white balance, you can fine-tune the color using the Red and Blue shift controls. This gives you more control over warmth, coolness, and unwanted color casts without needing to fix every image later in editing.
In this guide, we’ll break down exactly how the R/B shift works, what the grid actually means, and when to use different adjustments. Let’s look at how this works in practice.
What Is Fujifilm White Balance Shift?
Fujifilm White Balance Shift lets you fine-tune the color of a photo after choosing your main white balance. It is useful when an image looks slightly too warm, too cool, green, or magenta and the standard white balance setting is not quite right.
How the R/B Grid Works?
Fujifilm uses a 2D grid from -9 to +9 for Red and Blue, giving you more control than simply choosing a white balance preset or Kelvin value.
The easiest way to understand it is:
- Red + / Blue – → warmer, more golden color
- Red – / Blue + → cooler, bluer color
- Changing one side more than the other → introduces a stronger color shift rather than simply warming or cooling the image
For example, +2 Red and -2 Blue pushes the image noticeably warmer. The effect is similar in purpose to lowering your Kelvin setting, but the R/B adjustment is Fujifilm’s own way of fine-tuning the color.
Why Does Fujifilm’s Grid Look Different?
The grid is rotated roughly 45° compared with the temperature and tint controls you may be familiar with from editing software.
That means the directions can feel backwards at first. You do not need to memorize the geometry, though. Just remember that diagonal adjustments are useful for overall warmth or coolness, while uneven adjustments help correct specific color casts.
Quick Rule of Thumb
For everyday shooting, keep it simple:
More Red + less Blue = warmer
Less Red + more Blue = cooler
Small shifts work well for correcting subtle color problems, while stronger values can become part of a deliberate Fujifilm look.
The images below show this clearly: compare 0/0 with a +9 Red / -9 Blue shift to see how dramatically the same image can change.
How to Adjust WB Shift on Your Fuji Camera?
Once you have chosen your preferred white balance, you can fine-tune its color directly from the camera. On most recent Fujifilm models, including cameras such as the X-Pro3 and newer generations, the process is straightforward.
- Choose your white balance mode. Select Auto, Daylight, Shade, or another preset that best matches your scene.
- Open the White Balance adjustment. Go to MENU → White Balance, then press the Right button to open the R/B shift controls.
- Set your Red and Blue values. Use the directional buttons to move around the grid and adjust the Red and Blue values to your preferred look.
- Confirm the setting. Press OK or Set to apply the adjustment and return to shooting.
Within the White Balance menu, you can fine-tune your Fujifilm white balance shift without changing the main white balance mode itself. This makes it easy to create a subtle correction or establish a consistent color look for a particular shooting situation.
Check your Fujifilm camera to see which models support the White Balance Shift controls discussed here.
How R and B Shifts Affect Your Photos
White Balance Shift can noticeably change the color and mood of a photo without changing your other camera settings.
What Happens When You Change the Shift?
Think of the adjustment as changing the overall color direction of the photograph:
| White Balance Shift | Typical effect |
| More Red | Warmer skin, highlights, and overall color |
| More Blue | Cooler shadows, skies, and overall color |
| +R / -B | Stronger warm, golden or orange appearance |
| -R / +B | Stronger cool, blue appearance |
| Small adjustment | Subtle correction or color refinement |
| Large adjustment | Deliberate creative color effect |
The exact result depends on your base white balance and the scene, so treat these as useful starting points.
Quick Before & After
- 0R/0B → +1R/-1B: Adds subtle warmth.
- 0R/0B → +5R/-5B: Creates a stronger orange or golden cast.
- 0R/0B → -5R/+5B: Produces a noticeably cooler look.
- 0R/0B → +9R/-9B: Creates an extreme warm shift for creative effects.
Correction or Creative Control?
Use smaller shifts to correct unwanted color and stronger shifts to create a specific mood.
Warm shifts can suit portraits, interiors, and evening scenes. Cooler shifts can work well for urban, rainy, or nighttime photography.
Why Do Recipes Specify R/B Shifts?
White Balance Shift is part of the look in many Fujifilm film simulation recipes. A setting such as +3R/-5B can significantly affect the recipe’s final color rendering.
That is why understanding R/B shifts makes Fujifilm recipes easier to follow and reproduce consistently.
If you’re using White Balance Shift to fine-tune skin tones, our guide to the best Fujifilm portrait recipes for natural-looking skin tones shows how these adjustments work as part of a complete recipe.
Practical Tips for Using WB Shift
Now that we know what WB Shift does, here’s when to use it in real shooting situations.
- Add warmth in shade
Try +2R/-2B to +3R/-3B when shooting in open shade or under cool daylight. The warmer shift can balance the blue cast and keep skin tones looking more natural.
- Correct green-looking indoor light
Try a small Red and Blue adjustment when office or fluorescent lighting makes photos look slightly green.
A setting such as +3R/-3B can add warmth and help neutralize that unwanted cast.
- Use Auto WB with small shifts
For changing or mixed lighting, Auto White Balance + a subtle WB Shift is often easier than constantly changing presets.
This helps maintain a more consistent color look across JPEGs as you move between different light sources.
- Save useful combinations
If your camera supports custom settings, save your favorite WB Shift combinations with your film simulation recipes.
That way, a complete look can be recalled quickly instead of rebuilding each setting before shooting.
- Keep extreme shifts for creative effects
Large values such as +9R/-9B can produce dramatic color changes.
Use them deliberately for a stylized look, but stick to smaller adjustments when your goal is natural-looking color.
One Important Caution
WB Shift behavior and saved-setting options can vary between Fujifilm camera generations, so check your specific model before assuming every adjustment can be stored in a custom preset.
These practical adjustments make Fuji’s WB Shift much easier to use confidently, especially when you want consistent JPEG color straight out of the camera.
For photographers who want to turn these adjustments into a repeatable street-shooting look, explore our Fujifilm street photography recipes for 2026 for ready-to-use recipe ideas.
FujiPic White Balance Shift Tool
Understanding R/B shifts is easier when you can see the color change as you make it. That is exactly what the FujiPic WB Shift Visualizer is designed to help with.
FujiPic’s free WB Shift Visualizer lets you drag a dot across the R/B grid and instantly preview how the shift affects skin, sky, and foliage. Instead of guessing what a setting such as +3R/-4B might look like, you can see the color direction before applying it to your camera.
Experiment With Shifts in Real Time
The tool makes it easy to:
- Drag the R/B point and watch the color cast change.
- Compare three sample subjects to see how the same shift affects different colors.
- Load popular recipe shifts and understand why they use those values.
- Try Kelvin presets to compare temperature changes with Fujifilm’s R/B system.
This is especially useful when creating or adjusting your own JPEG look. FujiPic’s Fujifilm recipes show how White Balance and R/B Shift work together as part of a complete in-camera recipe.
The visualizer complements your camera rather than replacing it. Use it to experiment, find a shift you like, then apply that setting when you shoot.
Try the FujiPic WB Shift Visualizer →
End Notes
Mastering Fujifilm White Balance Shift gives you much more control over the color and mood of your JPEGs. Instead of accepting a color cast or fixing every image later, you can fine-tune the look directly in-camera.
The key is to start with small adjustments and pay attention to how Red and Blue changes affect the scene. With practice, you can use WB Shift for subtle correction or build it into a consistent creative style.
Ready to experiment? Explore FujiPic’s Fujifilm tools to see how different settings work together, or browse our Fujifilm recipes for ready-to-use combinations.
FAQs
- What is Fujifilm White Balance Shift?
Fujifilm White Balance Shift is a Red/Blue adjustment that fine-tunes the color of your image after selecting a white balance. It can warm, cool, or add a deliberate color cast without changing the main white balance mode.
- How do I use the R/B sliders on my Fujifilm camera?
Select your preferred white balance, then press Right to open the White Balance Shift grid. Use the directional controls to adjust Red and Blue, then press OK to apply the change.
- Does White Balance Shift change the Kelvin setting?
No. Kelvin controls the selected color temperature, while R/B Shift fine-tunes the color around that white balance. They work together rather than being the same control.
- Is Fujifilm White Balance Shift the same as tint?
Not exactly. Tint usually refers to a green-to-magenta adjustment, while Fujifilm’s grid uses Red and Blue controls. Its layout and behavior differ from the temperature/tint sliders found in editing apps.
- Why do Fujifilm film recipes specify a White Balance Shift?
The R/B shift is often part of the recipe’s intended color rendering. Changing it can noticeably alter the final JPEG, so using the specified shift helps reproduce the recipe’s look consistently.
- Why won’t my White Balance Shift save to C3?
Some older Fujifilm models cannot save individual White Balance Shifts inside C1-C7 custom settings. This includes the X-T3 and X-T30 and earlier X-Trans generations, while newer generations support saving the shift with custom settings.
- Can I use White Balance Shift with Auto White Balance?
Yes. You can apply an R/B shift to Auto White Balance and use it to give your JPEGs a more consistent color character. The shift remains tied to that white balance setting on cameras with the relevant behavior.
- What is a good starting point for White Balance Shift?
Start small, such as +1R/-1B or +2R/-2B, and check the result. Increase the shift gradually until you get the warmth, coolness, or color cast you want.
Leave a Reply